

Maintaining and Sharpening Your Metalwork Tools
Your tools are your livelihood in the forge, and they take a proper beating. A cold chisel that has split in the cut, a punch with a mushroomed head, a pair of shears that chews rather than slices — all of these are avoidable. A little routine care, done often and done soberly, will keep an edge crisp, hold off the rust, and add years to the tools you've spent good money on.
Why a Little Maintenance Goes a Long Way
Five minutes at the end of a session saves an hour of regrinding later. Blunt edges are dangerous edges: they need more force, and more force means slips, bruised metal, and the occasional nasty nick to the hand. A sharp tool cuts where you put it.
Much of tool care is simply looking. A punch head that has begun to spread, a chisel with a hairline crack running back from the tip, a handle showing a split along the grain — all of these tell you something before they fail. Check your tools before you strike anything, and deal with small faults while they are still small.
Getting Your Sharpening Angles Right
Angle is everything. Too thin and the edge chips or folds over on the first blow; too blunt and you're bruising the metal rather than cutting it. The following are sensible starting points for hand work:
- Cold chisels: 60° included for general work on mild steel, 55° for brass and copper, and 70° for heavy cutting where the edge needs bulk behind it.
- Hot cuts and hardies: 30° to 40° included, since hot metal cuts far more easily and the edge can be keen.
- Punches: 60° to 70° included on the point for cold work, blunter for heavy driving.
- Bench shears and snips: 25° to 30° on the cutting bevel, with a single bevel on most tin snips — sharpen the bevel only, never the flat face.
Whatever the tool, keep the angle consistent from the tip back to the shoulder. A wandering bevel gives you a weak edge and a tool that steers itself in the cut.
Chisels and Punches: Technique and Temper
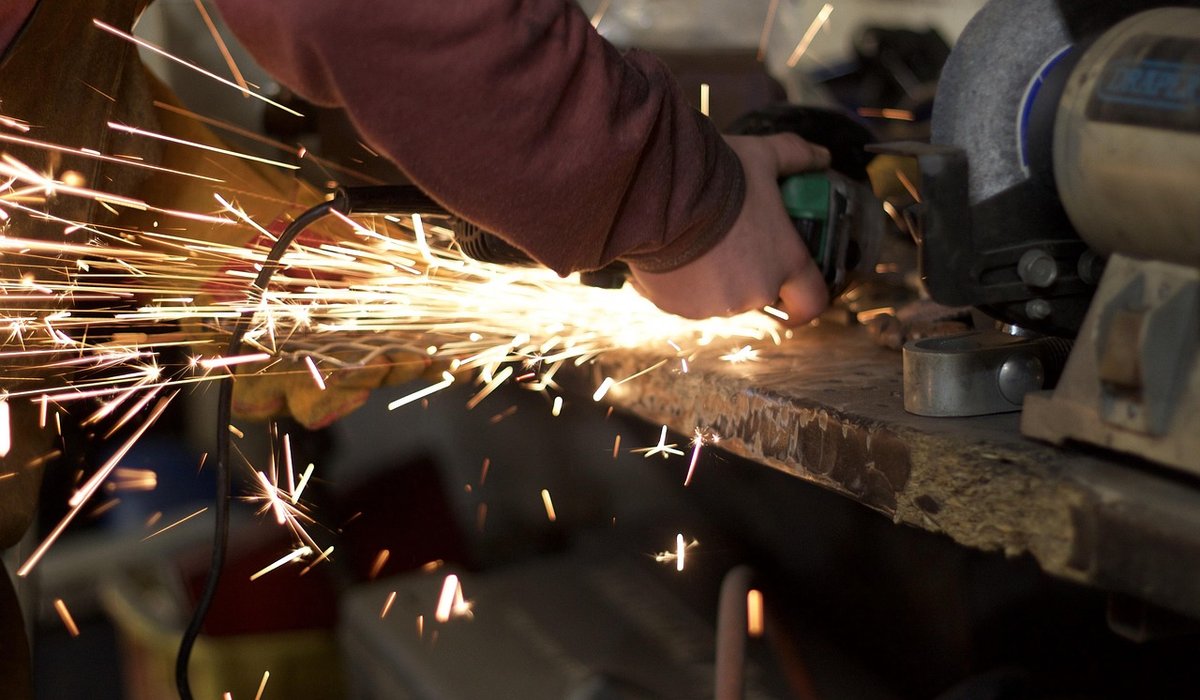
Use a slow-speed wet grinder or a belt sander with a fresh belt, and dunk the tool in water every few seconds. The moment you see a straw colour run across the steel, you are losing temper; blue means you have taken it past 250°C or so and the hardness has gone with it. Cool frequently and keep the pressure light.
Set your tool rest to the angle you want and use a simple wooden block as a jig if your hand wanders. Once the shape is right, draw-file the bevel to remove grinding marks and give yourself a flat, true surface to work from.
Progress through the grits: a coarse diamond stone or 220-grit belt to reshape, then 600 to 1000 to refine, and a fine oilstone, water stone or stropped leather charged with compound to finish. A couple of light strokes on the flat side between stones removes the burr.
Punch heads deserve particular attention. Every few sessions, dress the head back with a grinder or flap disc to remove the mushrooming. A spread head can spall under a hammer and send a sliver of hard steel across the workshop, and no amount of sharpening will save you from that.
Shears, Snips and Cutters
Keep the pivot tight and the blades in contact along their length. A good test is to close the shears on a sheet of thin paper: it should cut cleanly along the whole jaw, not just at the pivot end. If it doesn't, adjust the bolt or the blade gap before you touch the edge.
Sharpen only the bevelled side, keeping the flat face perfectly flat. Remove too much from the flat and you will change the alignment of the blades and the shears will never cut straight again. A drop of light oil on the pivot after every session keeps the action smooth and slows wear. Never use tin snips on hardened rod or fencing wire — that is what bolt croppers are for.
Rust Prevention: Keeping the Red Death at Bay
Forge conditions are ideal for rust: heat, humidity, and a quench tank within arm's reach. The answer is a protective film, reapplied often.
- Camellia oil for fine tools and cutting edges — it goes on thin and doesn't gum up.
- Boiled linseed oil in thin coats for hammer heads, tongs and larger ironwork; it dries to a hard, protective skin.
- Paste wax or a beeswax and turpentine mix for anvils, stakes and surfaces that see regular work.
- Petroleum jelly for anything going into long-term storage.
Water-displacing sprays are useful for shifting moisture straight after a session, but they evaporate and leave little behind, so follow up with oil. Keep silica gel sachets in drawers, run a dehumidifier if your workshop is prone to damp, and remember that cold steel in a warm, humid room will condense moisture all over its surface. Pitting never sleeps, and once it starts, it never fully comes out.
Storage and Daily Habits
Store tools so that edges touch nothing harder than themselves. Wooden racks, magnetic strips and drilled blocks all work well; hang tongs and hammers clear of chisel tips. Slip a leather or cork guard, or a length of split hose, over every cutting edge that isn't in your hand.
For travelling, use a canvas or leather tool roll rather than a plastic bag, which traps damp against the steel. Keep files separate — they are hard and brittle, and rattling against other tools will dull them in short order.
Wipe down with an oiled rag at the end of every session, check handles and wedges monthly, and re-haft any cracked ash before it fails mid-strike. Keep a bench stone within reach so you can touch up an edge in a few strokes rather than letting it go blunt. Do these small things consistently and your tools will reward you for decades.


Forging Basics
-
Gas forges offer clean, quick heat; coal and charcoal provide tradition and flexibility. Compare costs, safety, and suitable projects.


Projects


-

Long established fact that a reader will be distracted
-

Long established fact that a reader will be distracted
-

Long established fact that a reader will be distracted



Tooling
Karla Gleichauf
12 May 2017 at 05:28 pm
On the other hand, we denounce with righteous indignation and dislike men who are so beguiled and demoralized by the charms of pleasure of the moment
M Shyamalan
12 May 2017 at 05:28 pm
On the other hand, we denounce with righteous indignation and dislike men who are so beguiled and demoralized by the charms of pleasure of the moment
Liz Montano
12 May 2017 at 05:28 pm
On the other hand, we denounce with righteous indignation and dislike men who are so beguiled and demoralized by the charms of pleasure of the moment